From the Archives: DIY Brass Headboard
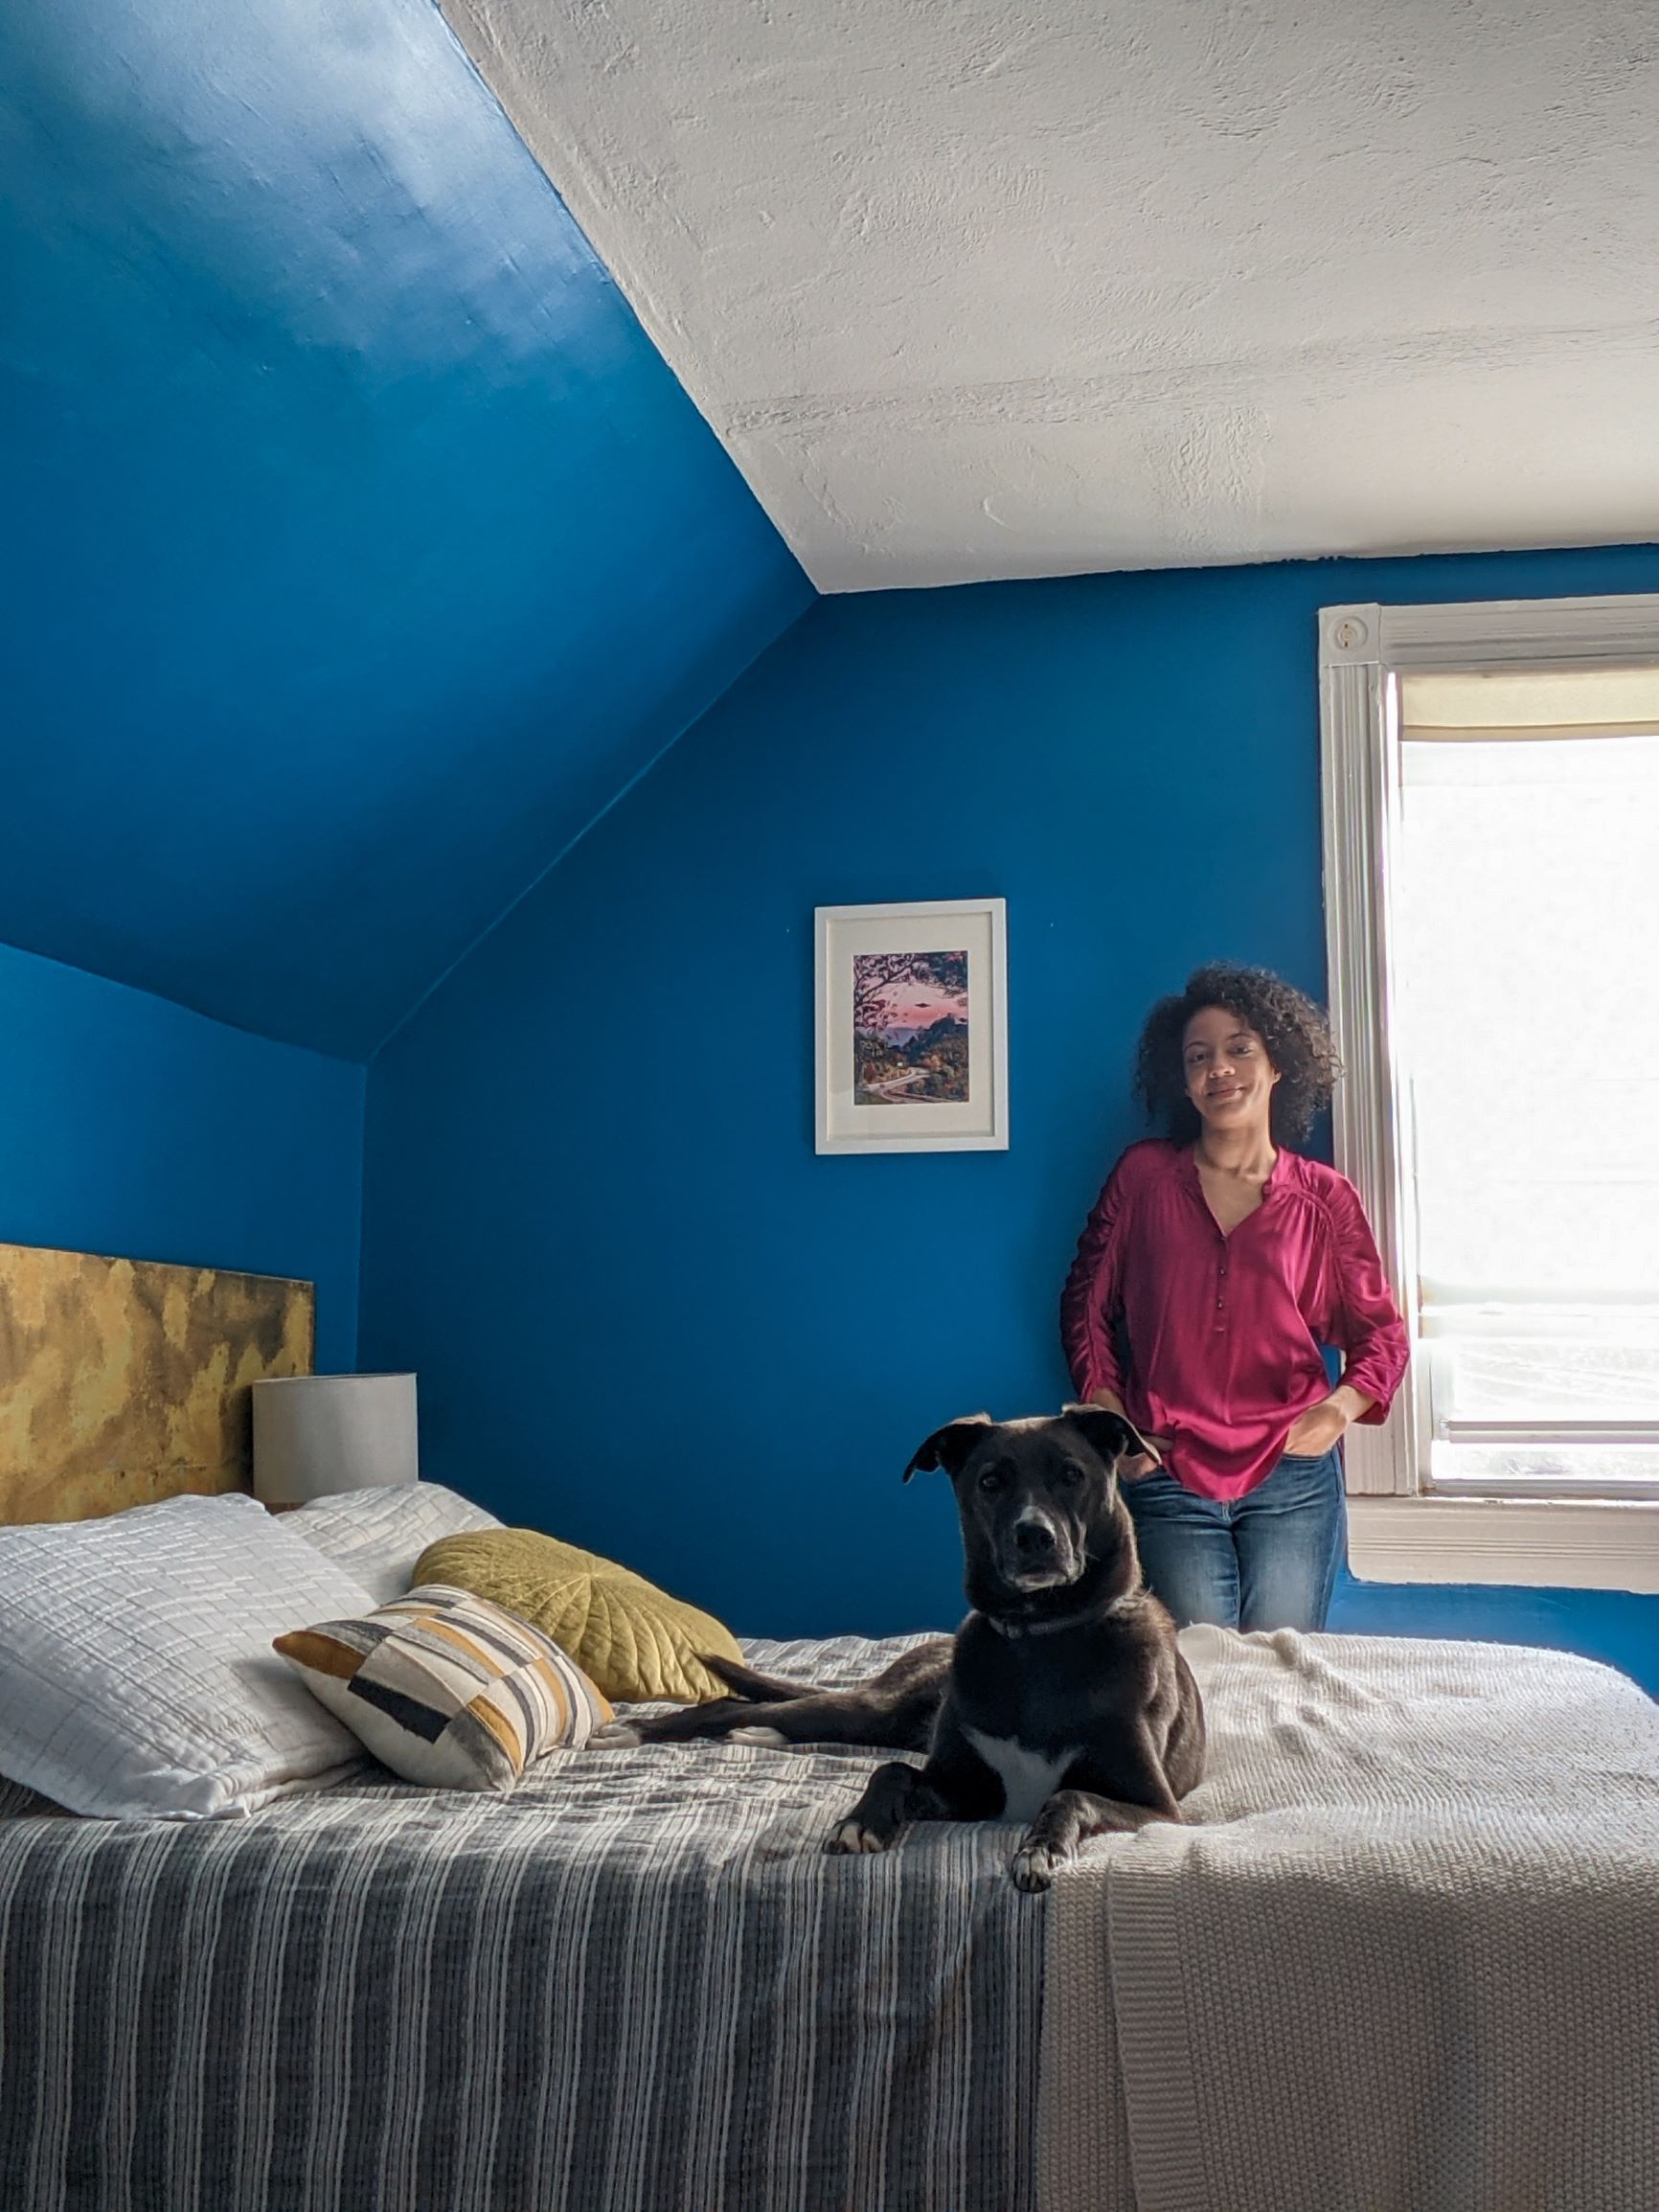
I had been wanting a new bed to replace the one that Daniel bought before we knew each other. What he had wasn’t my style and I wanted something with a little more drama and looked like a piece of art. We replaced that bed with a platform bed and I made our headboard, which I wanted to look essentially like a sheet of aged brass across the wall.
I was inspired by a DIY brass wet bar that interior designer Alison Victoria created on her HGTV show “Windy City Rehab” (see here for the DIY). The DIY headboard was pretty simple: build the wooden headboard, then adhere brass to it and age it, then hang it.
For the actual headboard, I had two pieces of birch plywood leftover from the media console I made. They were 4 feet by 2 feet and 3/4″ thick, so I glued them together to make one long sheet that is 8 feet by 2 feet at 3/4″ thick. This was the perfect length to span the wall behind our bed between the radiator on the left and the wall to the right.
To hang this heavy piece of wood, I built a French cleat using scrap wood, also 3/4″ thick, that a neighbor had. The French cleat (see here for more on what that is, but you can also buy them pre-made) is almost 5 feet long. I cut the French cleat using a circular saw since I don’t have a table saw and screwed one piece into the headboard and the other piece into the wall in order to hang the headboard. Once the building of the wood was done, I moved on to the brass. 
I ordered pure metal tooling foil in brass from Blick (see here). With each sheet at 12″ wide and 10 feet long, I ordered two. I used wood glue to glue the sheets down – two sheets side by side going the long way – and clamped down the brass sheets to help them stick to the wood. I also hammered in nails in certain places where the brass didn’t adhere as well. And then I aged the brass by mixing 1 Tbsp of salt with 1 cup of white vinegar and spraying it all over the full headboard. 
The DIY project achieved what I was going for, a piece of art as our headboard.


