From the Archives: Entryway and Stairs Glow Up
The entryway to The Cozy Cottage included beautiful original hardwood floors and an original stained glass windows in the middle and at the top of the stairs, which helped sell us on the home. However, everything else about the space needed a glow up. In 2018, I decided to take on the space as a DIY project as part of the One Room Challenge, the bi-annual design event where 20 featured designers and hundreds of guest participants (that’s me!) make over/renovate/make beautiful one room, either in their home or for a client, over the course of six weeks.
Before
You can see here how meh it was.

But you can also see the original beauty of the home.

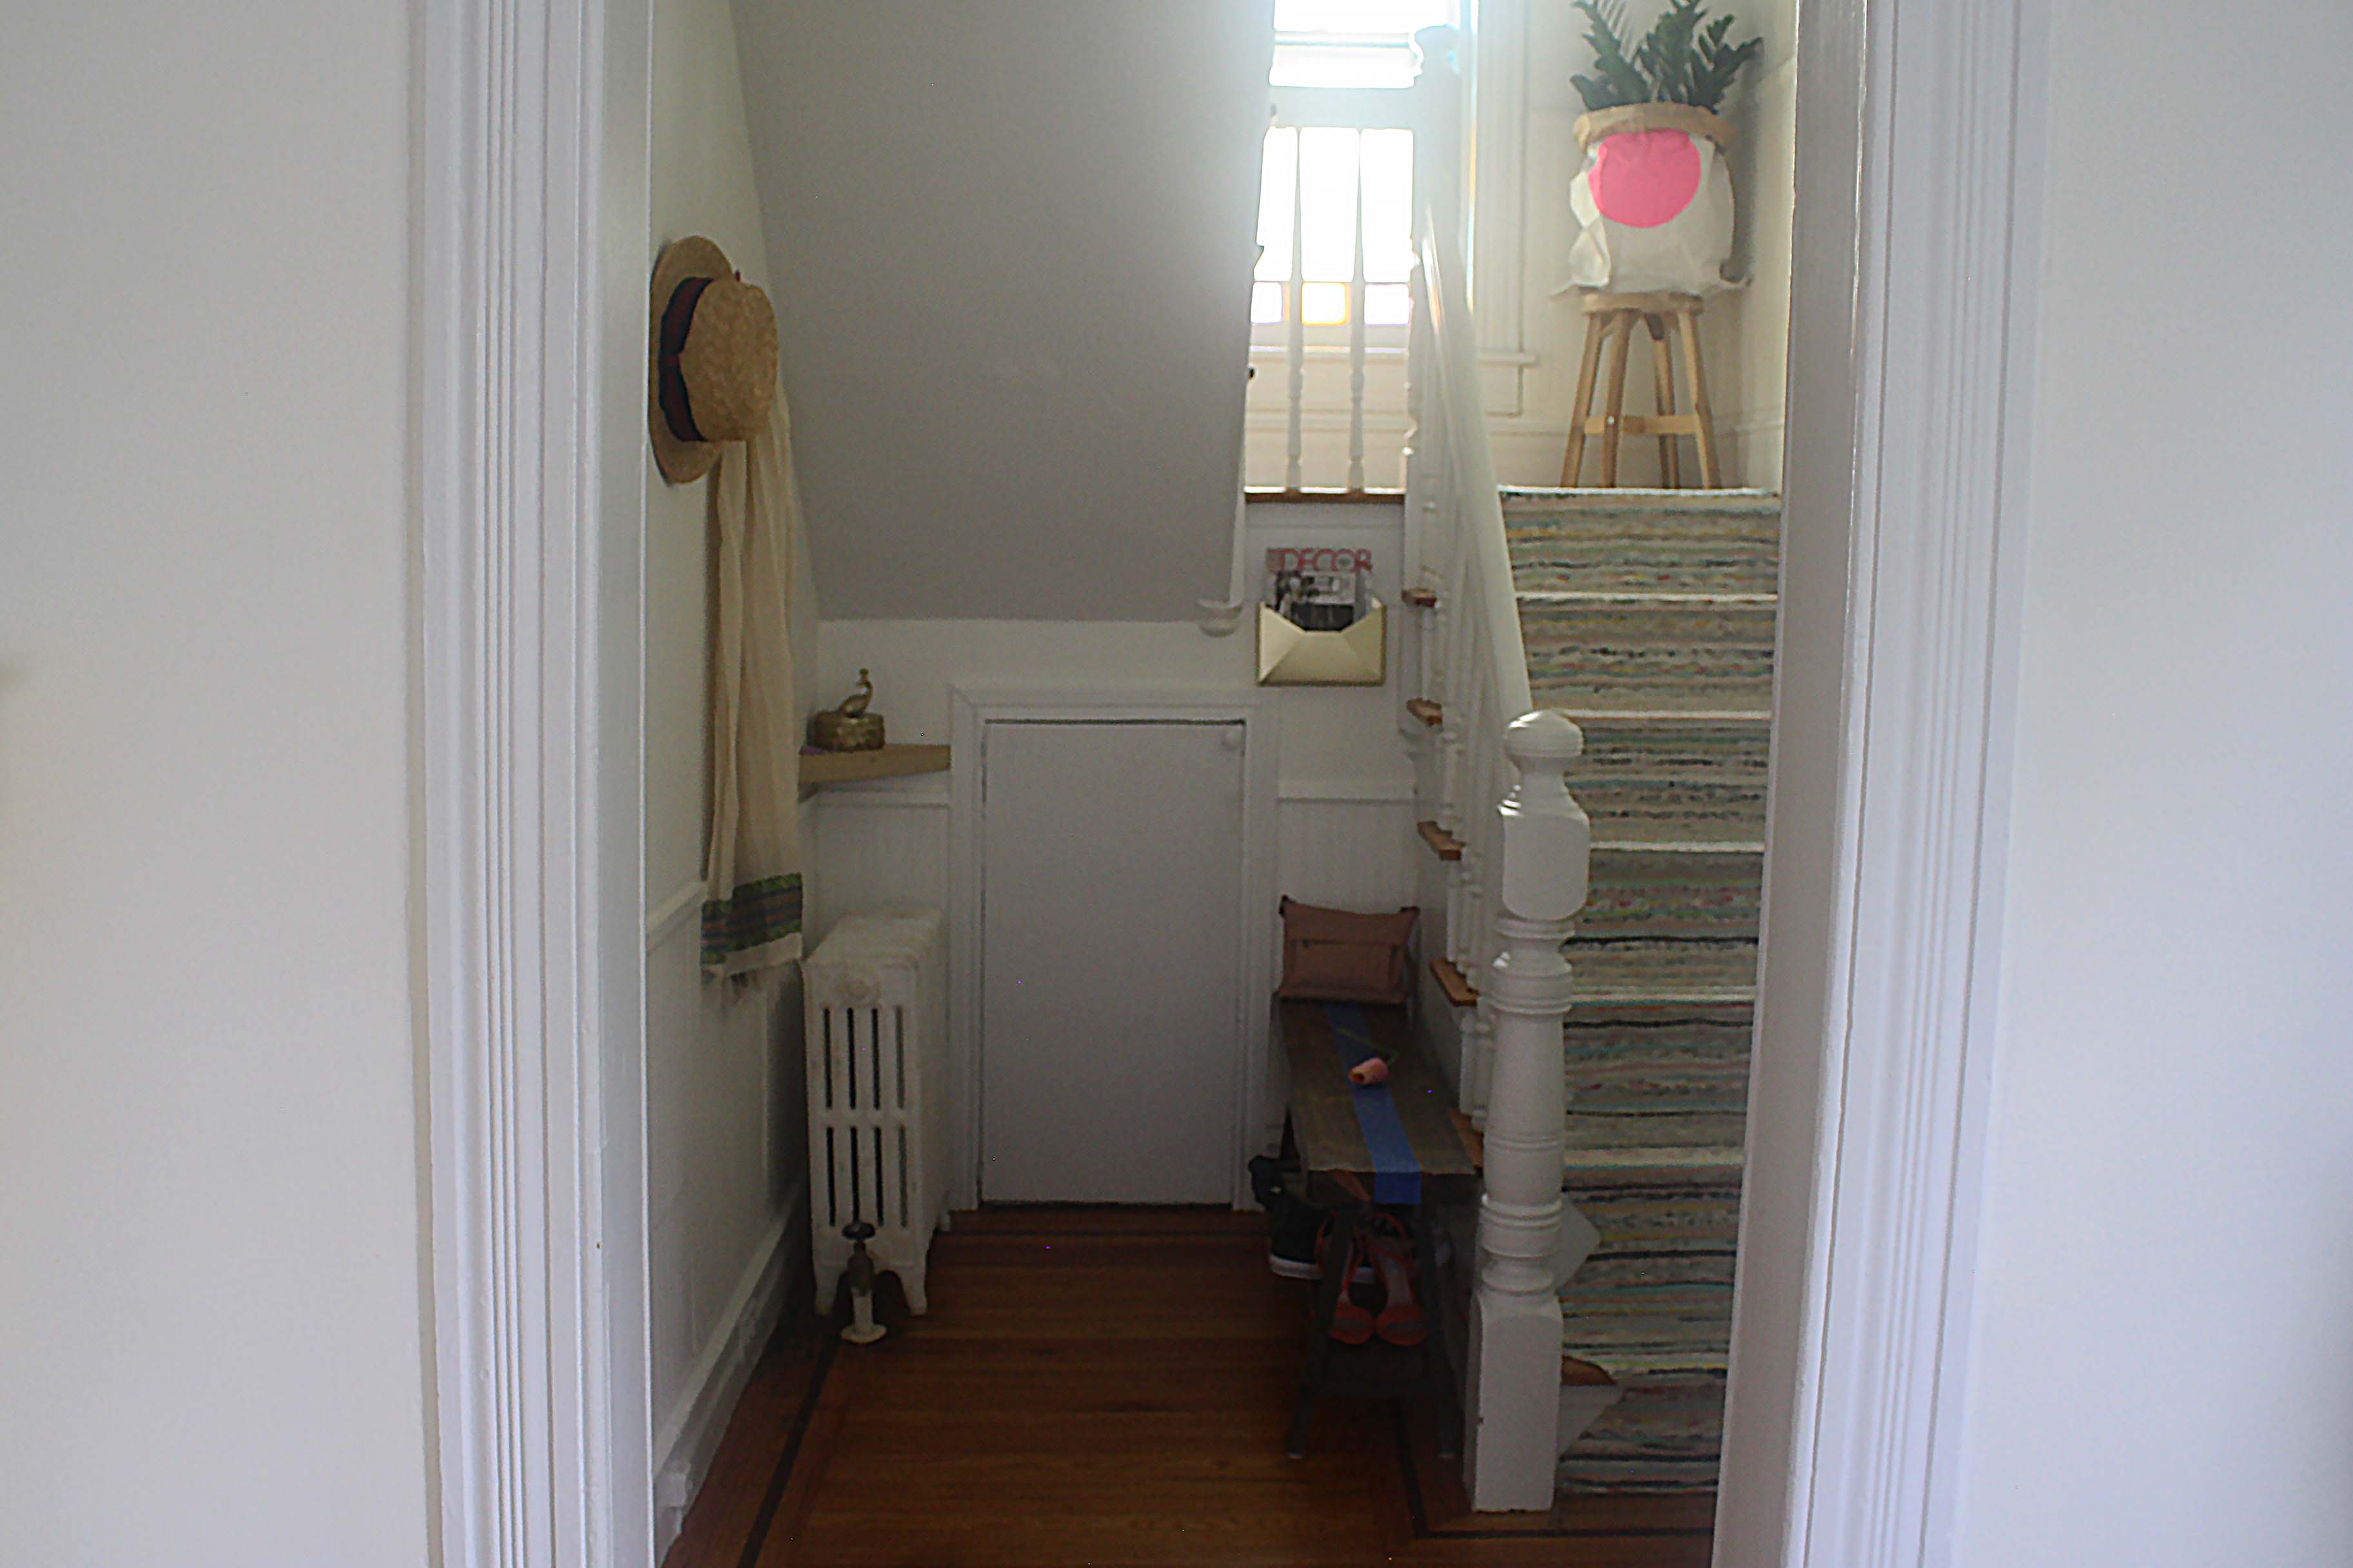
Over six weeks, I added beadboard to all the walls in the entryway, the stairs and the upstairs landing, painted everything white so really take advantage of the natural light and the pretty colors the stained glass windows cast on the walls, hired an electrician to replace the entryway light fixture, designed and printed a wallpaper to cover in the interior side of our front door, semi-made a runner to cover the stairs and added artwork.
Here is the moodboard I put together for the project, including the wallpaper that I designed using Spoonflower.

Beadboard DIY
The biggest challenge was figuring out how to cut beadboard on an angle to go up those stairs. This was a headache and I definitely did not do the smoothest job, but I was proud of myself for the attempt and liked the way it added texture and dimension to an otherwise boring area.


Painting Everything
I painted walls and the ceiling Behr’s Powdered Snow, a warm white with pink undertones but looks bright white in our house because of the natural light those rooms get.


Stair Runner DIY
For the stair runner, I was inspired by the below image. I loved the shape! The drama! The beauty! And I loved how it was clearly custom. I played around with different colors and shapes and where the runner should end, and finally decided on a geometric shape and ending it with the bottom stair.

I found two cheap Ikea rugs, cut out an octagon template using cardboard, placed the template on one corner of the rug, traced the outline, then slid it over so it covered the rest of the width of the rug and traced it. Essentially, I traced a double-wide octagon, and created back-to-back rows of this shape. Then I placed carpet tape just inside the lines and used fabric scissors to cut right on the edge of the tape. Any cuts I made that left too much fabric on the edge without tape on it, I just readjusted the tape so that it came right to the edge. It’s important that the carpet tape is right at the edge so that the rug doesn’t fray. (Spoiler, it did end up fraying.) This took four of these IKEA rugs.


Wallpaper DIY
For the DIY wallpaper, I’m not good at drawing so I found line drawings of flowers I like, copied and arranged all flowers on a blank sheet in Keynote and saved that sheet as a jpeg file. Then I uploaded the jpeg file into Photoshop and played around with color. I knew I wanted a bright sky blue background so I started with that and then filled in other colors. For every color, I used multiples, so the image wouldn’t appear so flat. For example, each flower has two greens within each portion of the stems and leaves. The tulip is coral, but I used lighter and darker versions of coral for each petal. I’m not a graphic artist so I have no idea if this is the way to make something appear less flat, but that was my attempt. Then I transferred the final print jpeg to Spoonflower. Spoonflower offers different options for patterns of a print and I went with the mirror pattern and ordered with an adhesive backing on woven paper.
Actually wallpapering this door was hard because it was a paneled door (aka, not one flat surface) with two windows. But I did it! As is the case with all of my DIYs, it was far from perfect but looked really cool for years.


The Reveal
The easiest part of this DIY experience was adding just a few final design touches, like a corner shelf and key holder and mailbox slot to make this area a little more functional. Overall, I liked that this project made this small area of our pop more and amplified the beauty of the stained glass windows.


